
Article
How to Make Better Drip Coffee at Home
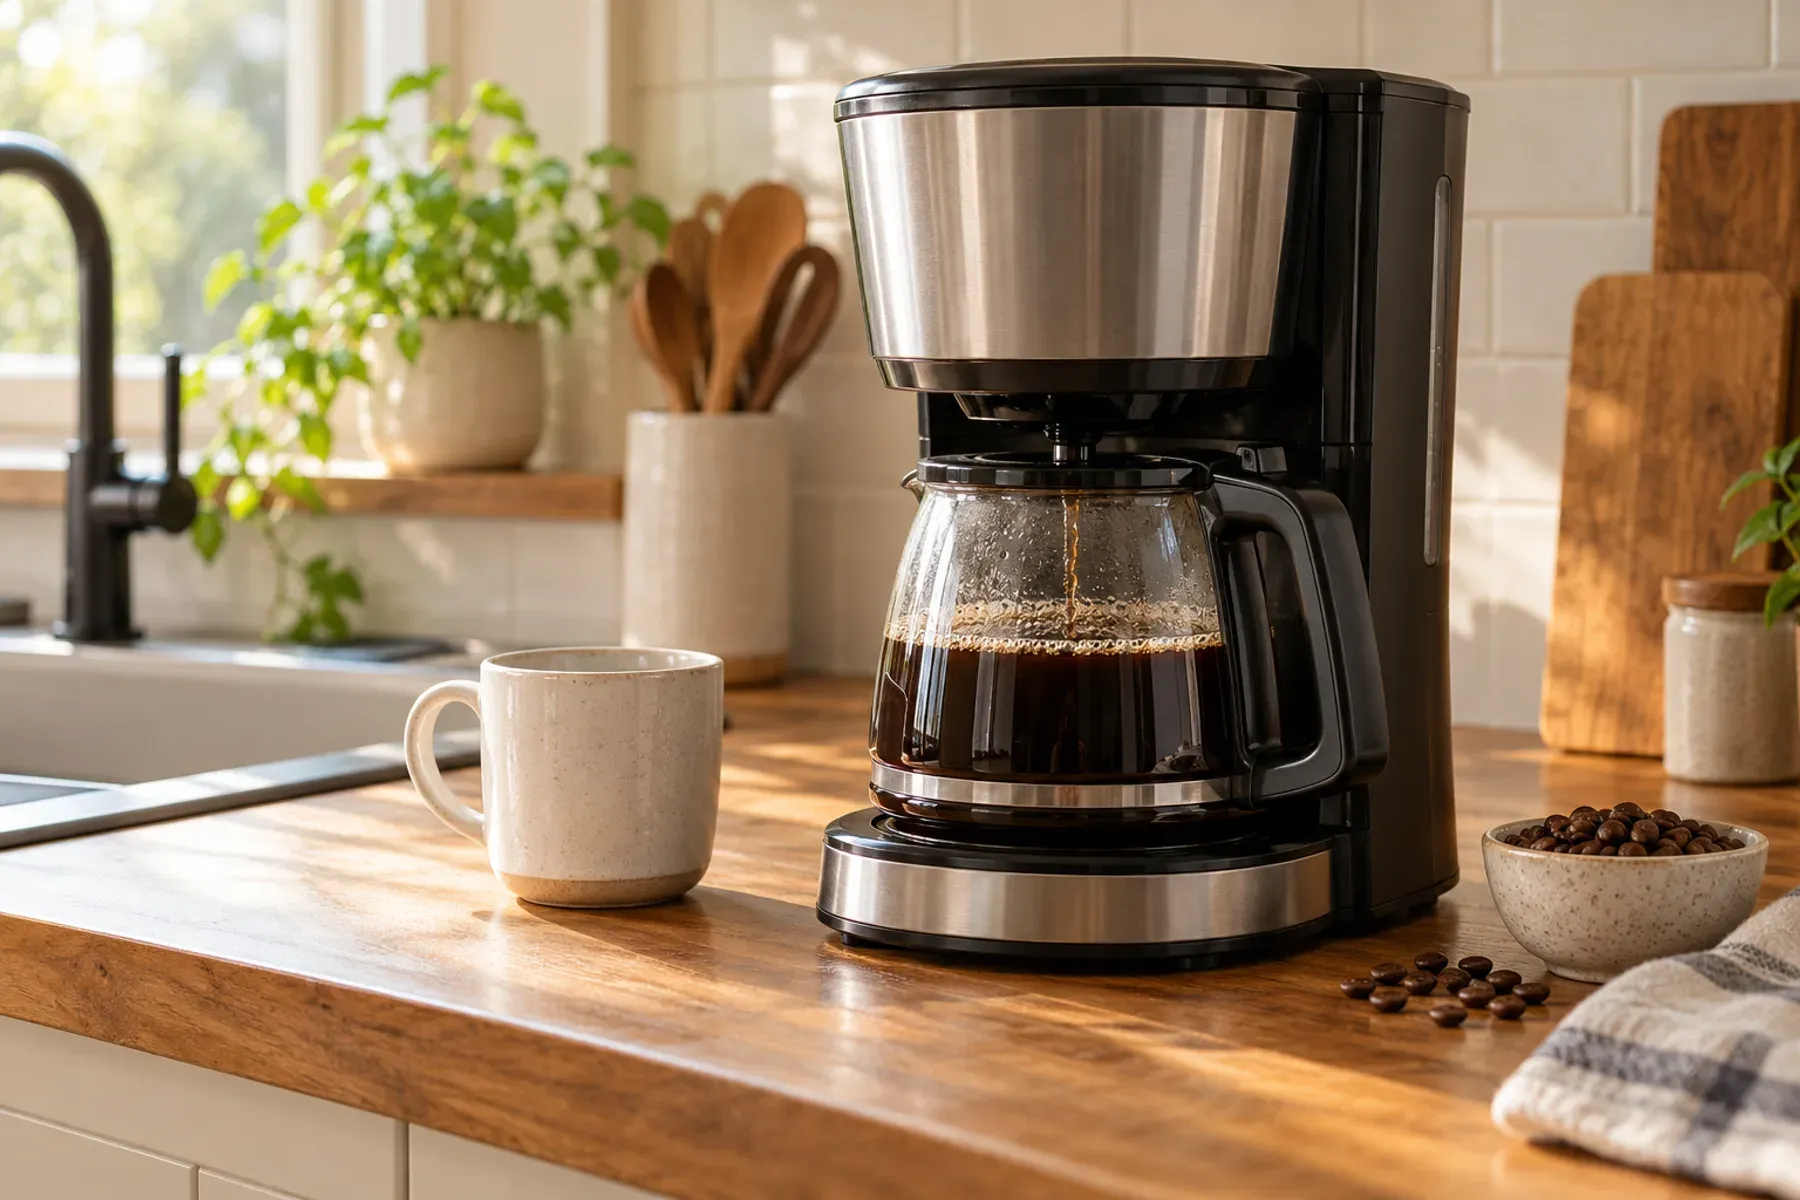
- Researched — Hands-on testing has not been completed for this page; it reflects research and category best practices.
- Report a correction — fixes are logged in the Updated date.
Better drip coffee usually comes from making your process more repeatable before making it more complicated.
A different grinder setting, a different coffee-to-water ratio, a different water source, a different filter basket, and a different machine can all change the cup. If you change several of those at once, you will not know why the cup got better or worse.
Coffee Made Clear’s approach is simple:
Lock → Brew → Taste → Change One Thing → Repeat.
That is the Drip Dial-In Loop.
It is not a universal recipe. It is a way to make your own brewer and coffee easier to understand.
Step 1: Lock the baseline
Before troubleshooting, keep these things as consistent as practical for two or three comparison brews:
- the same coffee
- the same brewer and basket
- the same filter type
- the same coffee dose
- the same water amount
- the same water source
- the same grinder setting
The goal is not laboratory precision. The goal is to stop accidentally changing five variables at once.
Start with a measured coffee-to-water ratio
For filter/drip brewing, 60 grams of coffee per liter of brewing water—about 1:16.7—is a common SCA-referenced starting convention (Specialty Coffee Association, Water and Coffee Acidity).
That does not mean 1:16.7 is the best ratio for every coffee or every drinker. A 2023 sensory analysis by Guinard and colleagues shows that people do not all prefer the same combination of strength and extraction.
So use a ratio as a baseline, not a commandment.
If you already have a ratio you like, keep it. If you are guessing with scoops one day and changing the water level the next, measuring the dose and water gives you a much cleaner starting point.
For a deeper look at ratios, see the Coffee-to-Water Ratio Guide.
Step 2: Ask what kind of problem you actually have
Before turning the grinder, describe the cup.
Is it mainly:
- too concentrated or intense?
- too dilute or weak?
- harsh or bitter?
- sharp or sour?
- flat or hollow?
- simply not a flavor profile you enjoy?
This matters because strength and extraction are related but not identical. A cup can be concentrated without that automatically proving it was excessively extracted. A weak cup does not automatically prove low extraction. Coffee Extraction Explained covers that distinction in detail.
Taste is useful evidence, but it is not an extraction meter.
Step 3: Fix concentration with ratio before blaming everything else
If the main problem is that the cup is simply too strong or too weak for you, the most direct first test is usually the coffee-to-water ratio.
For example:
- too concentrated for your preference → test slightly more water or slightly less coffee
- too dilute for your preference → test slightly less water or slightly more coffee
Then brew again without changing the grinder at the same time.
Why start here? Because ratio directly changes how much coffee you use relative to brewing water. You are testing the most obvious concentration lever before using grind to solve a problem that may not be a grind problem at all.
Step 4: Use grind as a dial, not a universal setting
Once your ratio is stable, grind becomes one of the most useful variables to test.
But there is no trustworthy universal instruction such as “all drip coffee should be ground at setting 18” or even “all automatic drip should be medium.” Grinder numbers differ between brands. Basket shape also changes how water flows through the coffee.
Controlled drip research has shown that basket shape, grind, and roast can interact, affecting both measured strength and sensory characteristics.
That means a grind recommendation that works in one flat-bottom brewer may not behave the same way in another brewer or a semi-conical basket.
A safer rule is:
Make one small grind change, keep everything else the same, and compare the next brew.
If the change improves the cup, you now have useful information. If it makes the cup worse, move back toward the previous setting.
Step 5: Do not use sour and bitter as automatic diagnoses
“Sour means grind finer.”
“Bitter means grind coarser.”
Those can sometimes be useful first hypotheses, but they are not measurements and they are not universal diagnoses.
Newer taste research shows that strength, extraction, roast and personal preference are linked in more complex ways than the old brewing chart implied.
So use taste words to choose a test—not to declare that you already know the cause.
If your coffee tastes sour, use the troubleshooting ladder in Why Does My Coffee Taste Sour?.
If it tastes bitter, use the Bitter-Cup Troubleshooting Ladder in Why Does My Coffee Taste Bitter?.
Step 6: Treat temperature as one variable, not the magic variable
It is common to hear that bad drip coffee must mean the water was too cool—or that hotter water automatically makes better coffee.
The evidence is more nuanced.
In a controlled drip-brew study by Batali, Ristenpart and Guinard, researchers brewed at 87°C, 90°C, and 93°C. They adjusted other settings so strength and percent extraction stayed matched. Under those conditions, temperature itself had little appreciable independent effect on the sensory profile.
That does not mean temperature never matters. Temperature can change extraction dynamics, and the researchers had to adjust other variables to compensate.
The practical lesson is narrower:
Do not treat temperature as a stand-alone taste diagnosis.
If your machine has an obvious heating problem, that is worth investigating. Otherwise, establish a repeatable recipe and grind before assuming a small temperature change will solve everything.
Step 7: Remember that the brewer itself is part of the system
Home drip brewers do not all control water delivery, temperature, saturation, and consistency in the same way.
The Specialty Coffee Association maintains a Certified Home Equipment program that evaluates home brewers against standards for brewing quality, consistency, and performance.
That does not mean you need to buy a certified brewer, and this article is not a product recommendation.
It does mean there is a useful troubleshooting boundary:
If you can keep the dose, water, coffee, filter, and grind consistent but the brewer produces noticeably erratic results, the machine itself may be part of the problem.
At that point, follow the manufacturer’s cleaning, maintenance, descaling, and operating instructions before assuming every inconsistency is your recipe.
Safety: Hot water, steam and a hot carafe can burn you. Unplug the machine before cleaning it, and follow your manual for descaling.
Step 8: Keep water consistent before trying to “optimize” it
Water matters because coffee is mostly water and dissolved minerals can influence flavor perception and brewing chemistry.
But exact water advice is often stated with more certainty than the evidence supports.
A 2024 study by Nording and colleagues tested magnesium and calcium. Typical drinking-water levels changed the extraction of the selected organic acids only a little. Much higher levels changed it more. The authors also found evidence consistent with some flavor-related interactions occurring after brewing rather than simply through extraction.
So the useful home-brewing lesson is not “buy this mineral packet” or “use distilled water.”
It is:
Keep your water source reasonably consistent while dialing in.
If your water has an obvious taste, odor, extreme hardness/softness issue, or causes heavy scale, treat water as a separate variable and follow appropriate manufacturer guidance for the brewer. Do not change water and grind at the same time if you are trying to learn which change helped.
The Coffee Made Clear Drip Dial-In Loop
1. LOCK
Keep the coffee, brewer, basket/filter, dose, water amount, water source, and grinder setting consistent.
2. BREW
Use your existing repeatable recipe or a reasonable starting ratio such as 60 g/L (~1:16.7), clearly treated as a starting reference rather than an optimum.
3. TASTE
Describe the problem before diagnosing it.
4. CHANGE ONE THING
- concentration problem → test ratio first
- brew-process/flavor problem → test a small grind change first
- obvious equipment problem → investigate brewer performance/maintenance
- suspected water problem → test water separately
- temperature → treat as one variable, not the automatic answer
5. REPEAT
Compare the new brew against the previous one before changing anything else.
This is an editorial troubleshooting workflow, not a laboratory protocol or SCA standard.
A simple brew log
You do not need a spreadsheet to dial in coffee. A note on your phone is enough:
Coffee:
Dose:
Water:
Ratio:
Grind setting:
Water source:
What changed this brew:
Taste result:
Next test:
The value of the log is not the paperwork. It is preventing yourself from forgetting what changed.
Quick troubleshooting reference
Too strong/intense: test ratio first; avoid changing grind simultaneously.
Too weak/dilute: test ratio first; then evaluate grind/process if needed.
Sour/sharp: treat it as a clue; use the sour troubleshooting process rather than assuming one cause.
Bitter/harsh: treat it as a clue; separate concentration, grind/process, roast, and other variables.
Inconsistent from brew to brew: verify your measurements and inputs; if they are stable, brewer performance, basket behavior, maintenance, or flow may deserve attention.
Changing water: keep everything else stable so you can tell whether the water change actually mattered.
Bottom line
Better drip coffee at home is less about finding a secret setting and more about creating a process you can understand.
Start with a repeatable dose and water amount. Use a reasonable ratio as a baseline, not a law. Treat grind as a brewer-specific dial. Do not turn sour, bitter, or temperature into automatic diagnoses. Keep your water consistent while you learn what your brewer is doing.
Then use the loop:
Lock → Brew → Taste → Change One Thing → Repeat.
That is how you stop guessing and start dialing in your own coffee.
Sources
Studies and pages used for the claims above. This guide is research-based and does not claim hands-on product testing.
- Specialty Coffee Association, Certified Home Brewer program.
- Specialty Coffee Association, Water and Coffee Acidity: How to Adapt Your Water for Different Extraction Methods.
- Guinard et al., A new Coffee Brewing Control Chart relating sensory properties and consumer liking to brew strength, extraction yield, and brew ratio (2023).
- Frost, Ristenpart and Guinard, Effect of Basket Geometry on the Sensory Quality and Consumer Acceptance of Drip Brewed Coffee (2019).
- Batali, Ristenpart and Guinard, Brew temperature, at fixed brew strength and extraction, has little impact on the sensory profile of drip brew coffee.
- Moroney et al., Coffee extraction kinetics in a well mixed system.
- Nording et al., Influence of divalent cations on the extraction of organic acids in coffee determined by GC-MS and NMR (2024).